Install WordPress Locally is an excellent option for those who want to experiment with WordPress without needing a live server. Whether you’re a beginner looking to learn WordPress or a developer testing new themes and plugins, setting up a local environment can be a game-changer. This method allows you to explore, design, and tweak your site freely before taking it live.
Setting up WordPress on your local machine is easier than you might think. All you need is the right software, like XAMPP, which provides a local server environment to run WordPress smoothly. XAMPP bundles Apache, MySQL, and PHP, making it a convenient choice for setting up WordPress locally.
One of the main benefits of installing WordPress locally is the cost savings. There’s no need to purchase hosting or domain names when working on a local environment.
Another advantage of local WordPress installation is its speed. Since the site runs directly on your computer, you don’t have to rely on internet speed or server delays. This allows for faster testing, especially when trying out new themes, plugins, or custom code.
In this guide, we’ll walk you through the step-by-step process to install WordPress locally using XAMPP. By the end, you’ll have a fully functional WordPress site running on your computer, ready for testing, learning, or development.
The Requirements of the Local Environment
To install WordPress locally we need a suitable local environment that consists of:
- web server software (Apache server).
- programming language (PHP).
- database management system (MySQL).
There are many software you can choose that present the above components for example: WAMP, MAMP, and Desktop Server. In this post, we use XAMPP in Windows operating system, which is a free source and can be installed in different operating systems (Windows, Linux, macOS), it stands for cross-platform(x), Apache, MySQL, PHP, Perl.
The steps of installing WordPress locally:
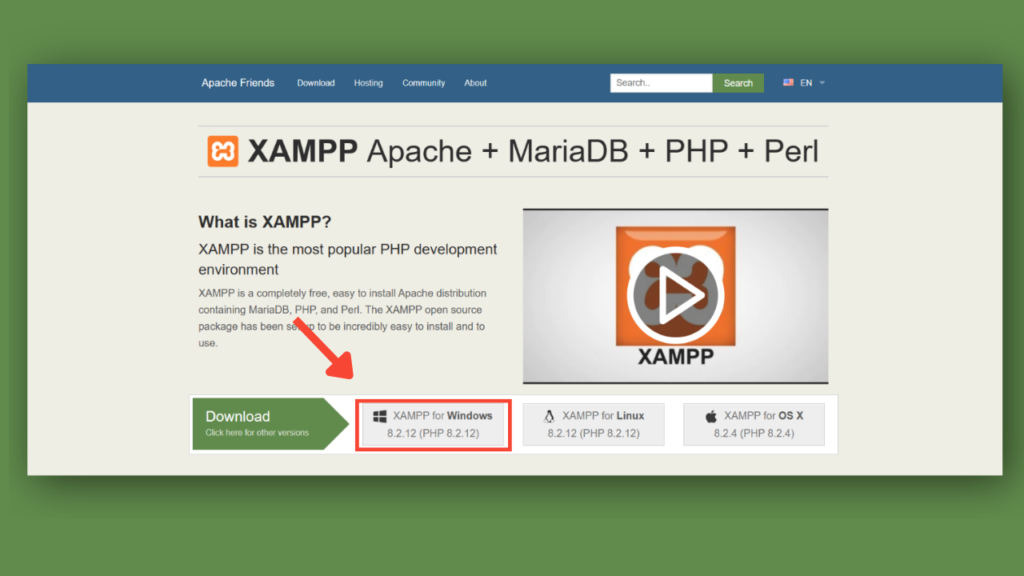
1- Visit Download XAMPP (apachefriends.org) apachefriends website, and you will find many choices for different operating systems, for this tutorial, we download XAMPP for Windows and install it on the path of local disk(c) as shown in the images below.

2- Download the latest version of WordPress from wordpress.org Extract the folder, and take the inner folder called WordPress, it can be renamed. then put it in the C:\xampp\htdocs path.

3- Open xampp control panel and start Apache and MySQL.

4- open your browser and write the localhost /phpMyAdmin or click the admin button in MySQL module in xampp control panel to access phpMyAdmin, click database tab, and create a new database for your website by entering database name.

5- After that, start setting up WordPress by opening localhost/wordpress/ on your browser, selecting language, and entering database connection details: database name as you created them in phpMyAdmin, enter root as username, and leave the password blank.

6- Run the installation

7- Then fill in the information about your site name, admin user name, password, and email, after that click Install WordPress button
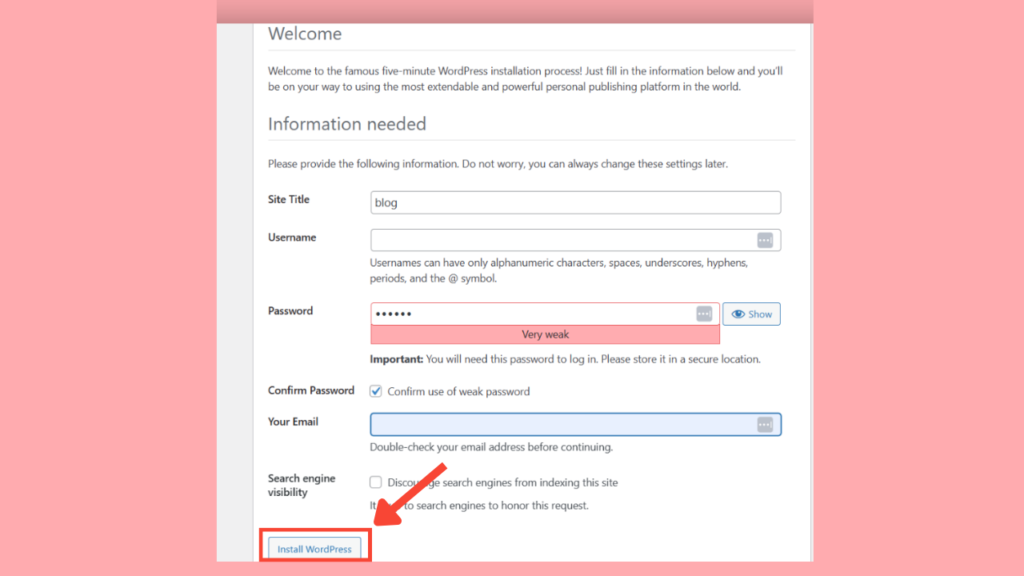
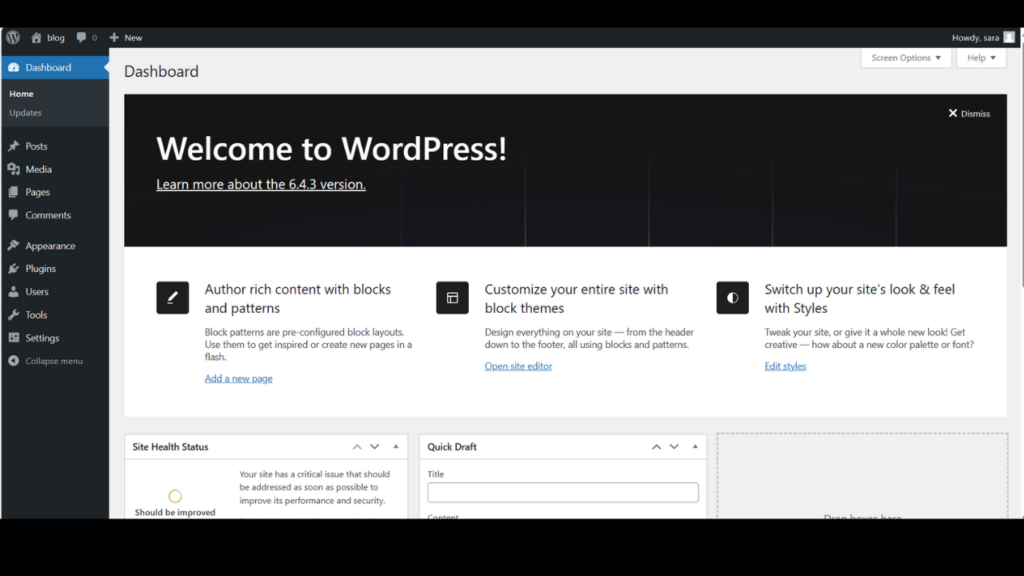
8- Congratulations wordpress installed successfully, you can control and manage your website now through the dashboard by using the information of login.
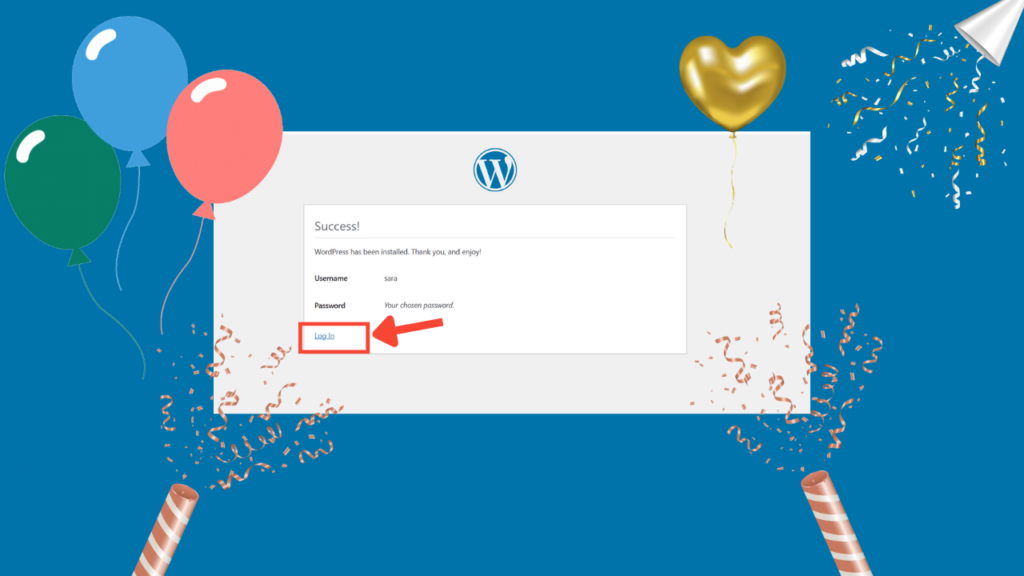
9- Login in by entering your username and password that you entered earlier
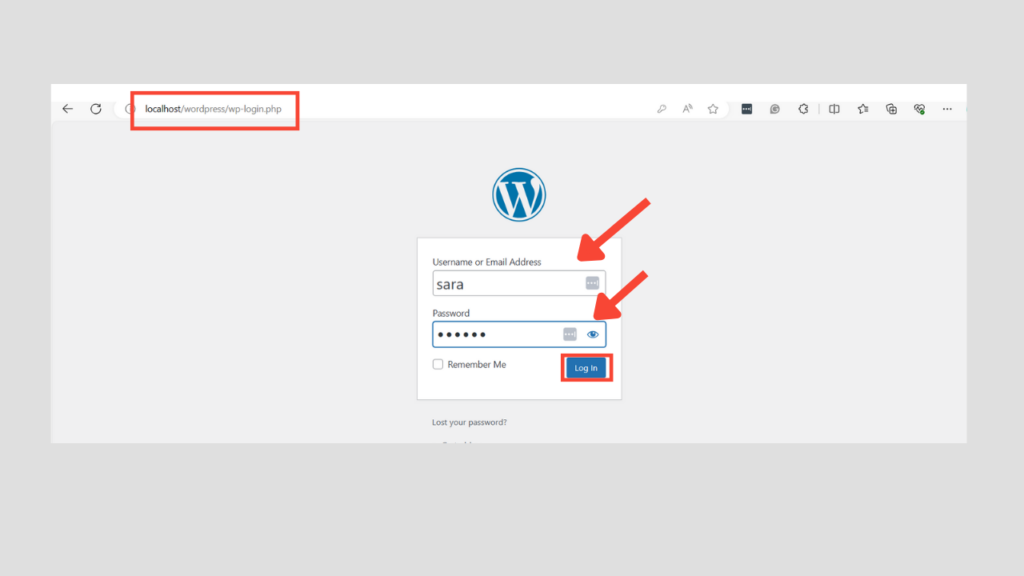
You now have WordPress website in your localhost .navigate the dashboard and add a theme and plugins to customize the design and functionality of your website. Create your main pages like the home page, about us, and contact us.
Conclusion:
Install WordPress locally can be confusing at first time but with these few guide steps it becomes easy and quick, and your website gets ready on your computer to design, customize, develop, and test it before sharing it with users.
